How to build a modern SPA client side (almost) frameworkless - Part 4
Welcome to the fourth part of this series of post where we are building a modern client side single page application using the bare minimum amount of tooling necessary.
In the third part we did a big step ahead introducing the routing. Now there is just one thing left to do: let the user update a note. It should be pretty straightforward by now, we just need to apply what we’ve learned so far.
First of all, let’s add an updateNote function in the data.js file:
export const updateNote = async (note) => {
  const updatedData = await notes.value.map(oldNote => oldNote.id === note.id ? note : oldNote)
  notes.value = updatedData
  saveUpdatedData(updatedData)
}
Then, in the single-page.js file we need to add an <input> to edit the title and a <textarea> to edit the text:
<header>
  <h1><input value=${this.note.value?.title} onkeydown=${() => this.dirty.value = true}/></h1>
  <button onclick=${() => delNote(this.note.value.id)}>delete</button>
</header>
<main>
  <textarea value=${this.note.value?.text} onkeydown=${() => this.dirty.value = true}/>
</main>
When a key is pressed in either the input or the textarea we set the form as dirty, using the this.dirty signal, created in the connectedCallback:
this.dirty = signal(false)
We can use this signal to show a “save” button:
<footer>
  <a href="/">
    Go back
  </a>
  ${this.dirty.value ? html`<button>save</button>` : null}
</footer>
Since the button is in a form, clicking it will submit the form, we just need to add an onsubmit handler:
<form onsubmit=${ev => {
  ev.preventDefault()

  updateNote({
    ...this.note.value,
    title: ev.target[0].value,
    text: ev.target[2].value,
  })
}}>
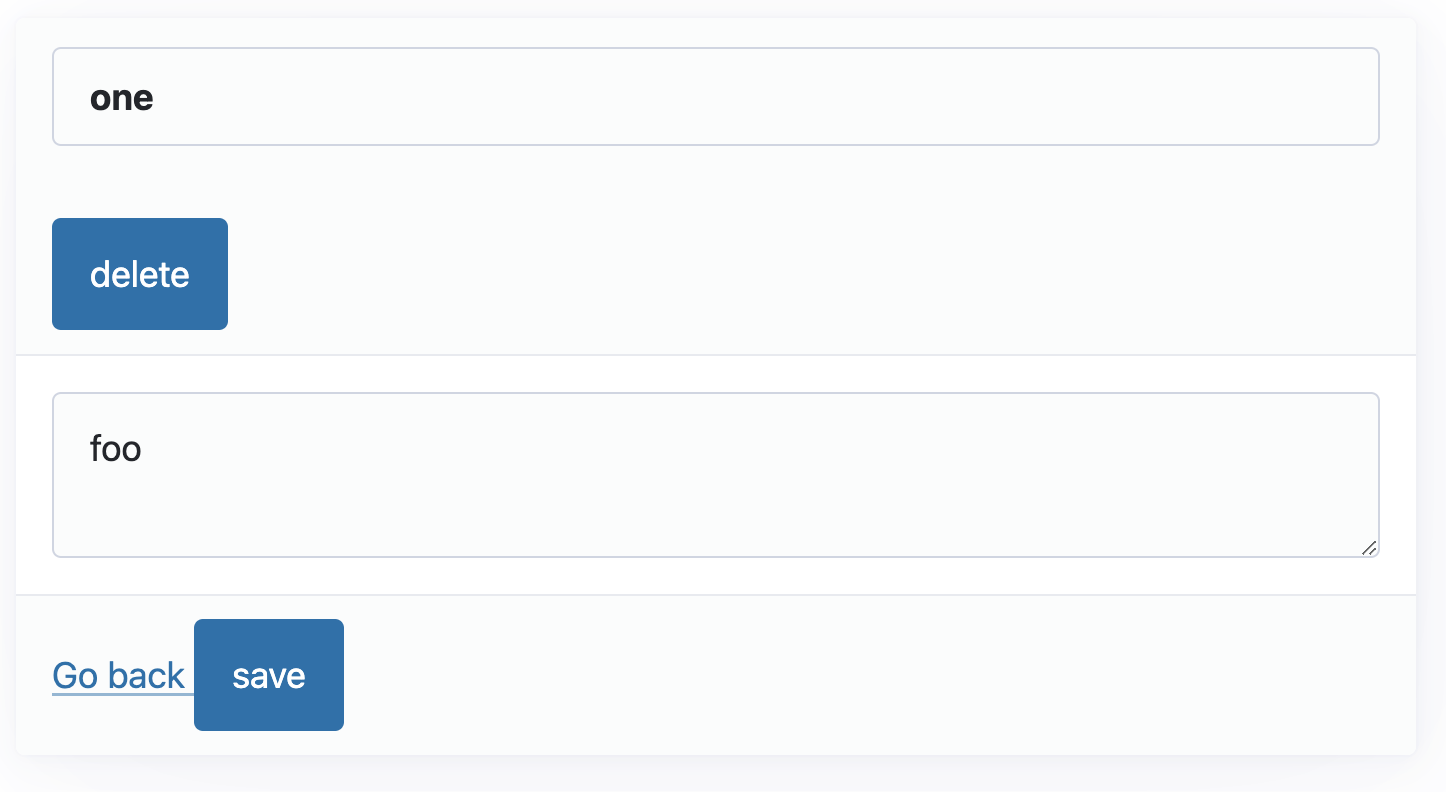
And that’s it. This one was easy. There is just one small detail to fix, but we already know how to do it. Now the save button looks like this:
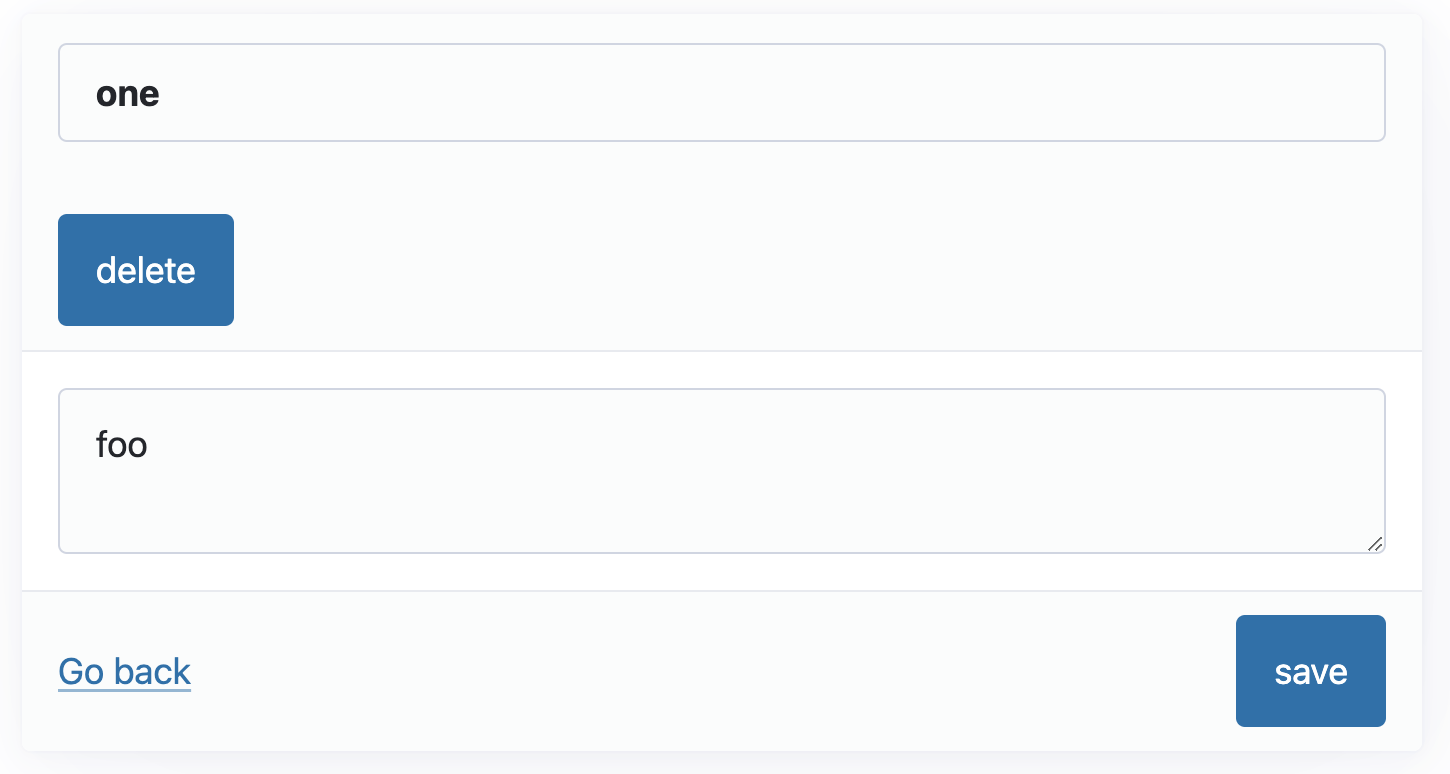
we can align it with the “go back” link using the css helper we wrote in the part 2
constructor() {
      super()

      css`
        ${TAG} {
          footer {
            display: flex;
            align-items: center;
            justify-content: space-between;
          }
        }
      `
    }
And this is the result:
With this feature in place the application is basically completed. As usual, you can find all the code of this part in this repo.
But we can do one more thing: add a build step. It is nice that we don’t need it, but it is also nice to be able to add it, if we want. So, stay tuned for the last part of this series.