How to build a modern SPA client side (almost) frameworkless - Part 2
Welcome to the second part of this series of post where we are building a modern client side single page application using the bare minimum amount of tooling necessary.
In the first part we develop the foundation of the application. In this post we will add some missing feature: deleting, saving the searching notes, plus our DIY solution for CSS in Js.
To pave the way to note saving let’s start to extract the add note feature to a dedicated module that will take care of updating and saving the data.
// data.js
import { signal } from 'https://cdn.jsdelivr.net/npm/uhtml/preactive.js'

export const notes = signal([])

export const addNote = (note) => {
  notes.value = notes.value.concat({
    id: crypto.randomUUID(),
    ...note,
  })
}
We add an unique ID to each note that will be necessary to update or delete a given note. We can use the builtin crypto.randomUUID() method for that.
We are exporting both the notes signal and the addNotefunction, that will be used by the page-list.js:
import { render, html } from 'https://cdn.jsdelivr.net/npm/uhtml/preactive.js'
import {notes, addNote} from '../data.js'

customElements.define(
  'page-list',
  class extends HTMLElement {
    constructor() {
      super()
    }

    connectedCallback() {
      render(this, this.render)
    }

    render = () => html`
      <main class="container">
        <form
          onsubmit=${(ev) => {
            ev.preventDefault()

            addNote({
              title: ev.target[0].value,
              text: ev.target[1].value,
            })
            ev.target[0].value = ''
            ev.target[1].value = ''
          }}
        >
          <input
            type="text"
            placeholder="my note"
          />

          <textarea />

          <button type="submit">add note</button>
        </form>
        <div>
          ${notes.value.map(note => html`
            <article>
              <header>
                <h1>${note.title}</h1>
              </header>
              <main>${note.text}</main>
            </article>`)}
        </div>
      </main>
    `
  },
)
Delete data
Next we’ll add a delete button on each note that will call a deleteNote function that we’ll expose from the data.js file:
<div>
  ${notes.value.map(note => html`
    <article>
      <header>
        <h1>${note.title}</h1>
        <button onclick=${() => delNote(note.id)}>delete</button>
      </header>
      <main>${note.text}</main>
    </article>`)}
</div>
and in data.js
export const delNote = (id) => {
  notes.value = notes.value.filter(note => note.id !== id)
}
The result is this:
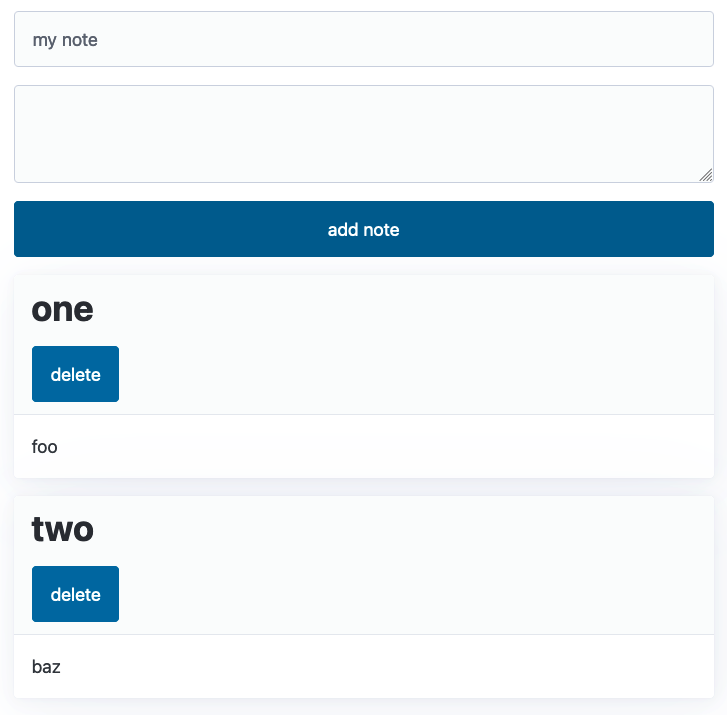
It depends on personal taste, but in my opinion it would be better if the delete button and the title were aligned on the same row, instead that one above the other.
We can fix this with a bit of CSS. Of course we can do it in the old regular way, adding a class and then a CSS stylesheet, but since we are developing a client side SPA we can use some sort of CSS in Js. Opinions may vary on this topic, but I think that CSS in Js, but even CSS modules, has the great advantage of making it clear where a style is used. This avoid old and unused styles to accumulate just because nobody is confident enough that they can be deleted.
The problem is that to use CSS modules we need some tooling, while there is an easy way to develop a custom CSS in Js solution.
CSS in JS
We can use the Constructable stylesheets. Since we’ll be using this feature in many components we can define it in its own module, let’s call it ccs.js. To mirror what the html helper by µhtml is doing, we want a function we can call with a template literal, like this:
 css`
  article header {
    display: flex;
    align-items: center;
    justify-content: space-between;
  }
`
So we need something like this:
export const css = (strings, ...values) => {
  var rules = strings[0]
  for (let i = 0; i < values.length; i++) {
    rules += values[i] + strings[i + 1]
  }

  if (!rules.trim().length) {
    return
  }

  const sheet = new CSSStyleSheet()
  sheet.replaceSync(rules)
  document.adoptedStyleSheets.push(sheet)
}
css will be a function that will receive 2 arrays, the first one with all the fixed strings, and the second with all the interpolations. First of all we are reconstructing the composite string:
  var rules = strings[0]
  for (let i = 0; i < values.length; i++) {
    rules += values[i] + strings[i + 1]
  }
If the result is empty we do nothing:
  if (!rules.trim().length) {
    return
  }
Otherwise we create a new style sheet, add the rules in the string and add it to the document:
  const sheet = new CSSStyleSheet()
  sheet.replaceSync(rules)
  document.adoptedStyleSheets.push(sheet)
We can use the new css function this way:
import {css} from '../css.js'

const TAG = 'page-list'
customElements.define(
  TAG,
  class extends HTMLElement {
    constructor() {
      super()

      css`
        ${TAG} {
          article header {
            display: flex;
            align-items: center;
            justify-content: space-between;
          }
        }
      `
    }
We are leveraging native CSS nesting, that has a good browser support, to scope our rules in an easy way, since the custom element tag name must be unique in any case.
The result is now like this:
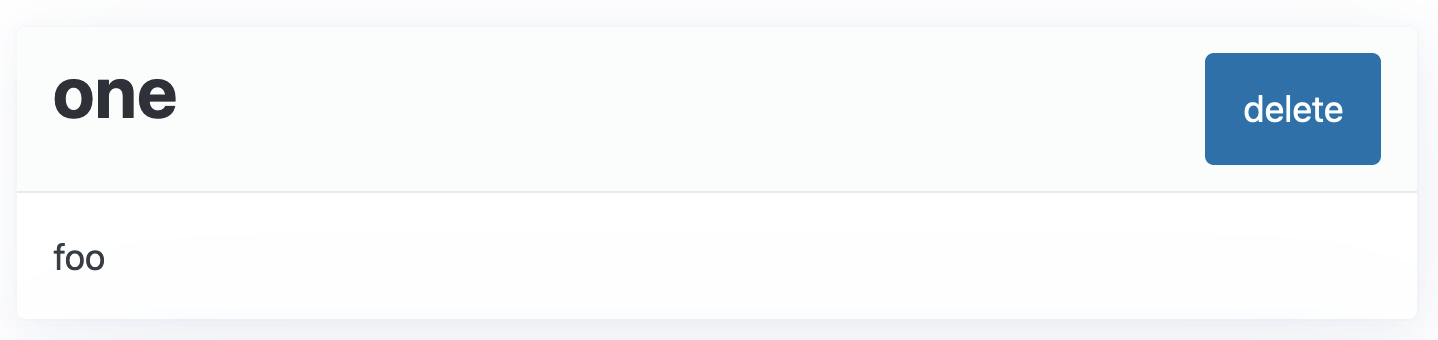
I think the solution we are using here can scale pretty well: a base CSS stylesheet with the reset and the styleguide rules, plus the CSS in Js to handle component specific styles.
Save data
To save the data, in a real application we would probably communicate with some sort of backend or serverless database. To keep things simple in this tutorial we’ll save data on the client itself. Again, in a real world scenario we would use the indexed DB for this kind of things, but for the sake of simplicity we will just save the notes list in the local storage. We are interested on the front end part here, not the back end one.
so, in data.js:
import { signal } from 'https://cdn.jsdelivr.net/npm/uhtml/preactive.js'

const STORAGE_KEY = 'notes'

const savedData = window.localStorage.getItem(STORAGE_KEY)
export const notes = signal(savedData ? JSON.parse(savedData) : [])

const saveUpdatedData = data => {
  window.localStorage.setItem(STORAGE_KEY, JSON.stringify(data))
}

export const addNote = (note) => {
  const updatedData = notes.value.concat({
    id: crypto.randomUUID(),
    ...note,
  })
  notes.value = updatedData
  saveUpdatedData(updatedData)
}

export const delNote = (id) => {
  const updatedData = notes.value.filter(note => note.id !== id)
  notes.value = updatedData
  saveUpdatedData(updatedData)
}
That’s it. In the future it will be easy to replace the save on the local storage with something more robust.
Search notes
To search notes we’ll put an input just above the list and filter the list in memory at every keystroke (of course in a real application we would probably call the backend and let it do the filtering).
Since the notes list must react to what is typed in the search box, we need a signal here, so let’s declare it:
const searchTerm = signal('')
Then we can insert the input field that updates the signal:
<input type="search" onkeyup=${e => searchTerm.value = e.target.value.toLocaleLowerCase()} />
Again, we are dealing with real DOM events here, so we need to listen for the keyup event, if we want to update the signal at every keystroke.
Finally we can filter the list based on the searchTerm signal value:
  ${notes.value
    .filter(note => (note.title + note.text).toLocaleLowerCase().includes(searchTerm.value))
    .map(note => html`
    <article>
Our search box looks like this:
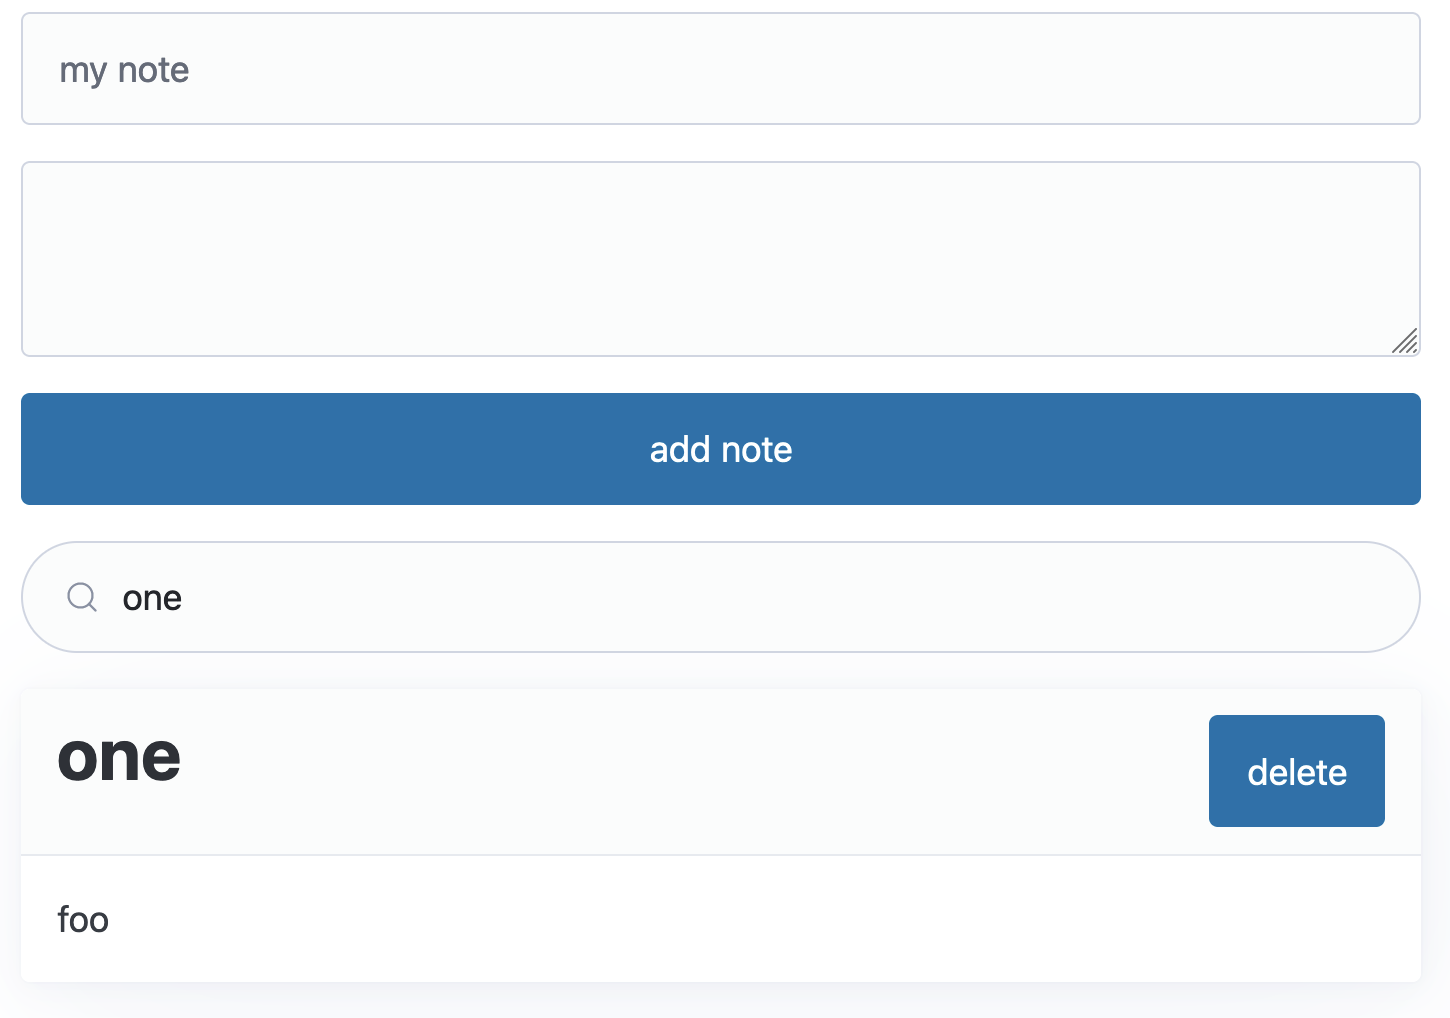
(thanks Pico for having styled everything with no effort)
Good, our application is really starting to take shape.
As usual, you can find all the code of this part in this repo.
In the next part we will see another key feature of a client side SPA: routing, so stay tuned, and, as always, feel free to ask or amend in the comments.