How to build a modern SPA client side (almost) frameworkless - Part 1
In the first post we said we are gonna develop a personal note taking web app, using µhtml as the only dependency, while we will use the web platform for everything else:
- ESM modules to split and organize the code
- Custom elements to create components
- Constructable stylesheets for css-in-js styling
- The Navigation API to handle the routing
Enough talk, let’s start coding.
You can follow this tutorial cloning this repo, every post has its own branch.
First of all we need an empty HTML file with the element in which we will mount the application, and the import of the main js file:
<!DOCTYPE html>
<html lang="en">

<head>
  <meta charset="UTF-8">
  <meta name="viewport" content="width=device-width, initial-scale=1.0">
  <title>My notes</title>

  <link rel="stylesheet" href="https://cdn.jsdelivr.net/npm/@picocss/pico@2/css/pico.min.css" />
</head>

<body>
  <div id="root"></div>

  <script type="module" src="index.js"></script>
</body>

</html>
We are going to use native ESM modules that have a good browser support.
To keep things simple we’ll use Pico as a styling baseline. We can add our own style and even css-in-js later on.
We’ll start with the bare minimum amount of features: a form to add a note and a list of the notes. Then we will progressively add new features.
So, for the time being the main js file just mounts the only page into the root element:
import {render, html} from 'https://cdn.jsdelivr.net/npm/uhtml/preactive.js'

import './pages/page-list.js'

const root = document.querySelector('#root')

render(root, () => html`<page-list />`)
The page-list web component renders a form to add a note and the list of the notes, we’ll keep everything in memory at this point:
import { render, html, signal } from 'https://cdn.jsdelivr.net/npm/uhtml/preactive.js'

const notes = signal([])

customElements.define(
  'page-list',
  class extends HTMLElement {
    constructor() {
      super()
    }

    connectedCallback() {
      render(this, this.render)
    }

    render = () => html`
      <main class="container">
        <form
          onsubmit=${(ev) => {
            ev.preventDefault()

            notes.value = notes.value.concat({
              title: ev.target[0].value,
              text: ev.target[1].value,
            })
            ev.target[0].value = ''
            ev.target[1].value = ''
          }}
        >
          <input
            type="text"
            placeholder="my note"
          />

          <textarea />

          <button type="submit">add note</button>
        </form>
        <div>
          ${notes.value.map(note => html`
            <article>
              <header>
                <h1>${note.title}</h1>
              </header>
              <main>${note.text}</main>
            </article>`)}
        </div>
      </main>
    `
  },
)
Ok, there is quite a lot of things going on here, so we will review them one by one:
import { render, html, signal } from 'https://cdn.jsdelivr.net/npm/uhtml/preactive.js'
First of all, we are using the preactive variant of µhtml, the one that includes preactive signals.
So, when I said that we’ll have used only one dependency I cheated a little bit. The dependencies are actually 2, but they come bundled in one module.
Signals are needed to handle the reactivity, so to update the DOM when data changes.
const notes = signal([])
This is why we need the notes list to be a signal, because we what the DOM to be updated whenever we add, remove or edit a note.
customElements.define(
  'page-list',
  class extends HTMLElement {
    constructor() {
      super()
    }
Here we are just defining our custom element, that will wrap and render our component.
This is the most compact syntax we can use.
    connectedCallback() {
      render(this, this.render)
    }
In the connectedCallback we tell µhtml to render the result of the this.render function in the custom element (this).
render = () => html`<main></main>`
The render method is just a function that returns the result of the html helper. For the reactivity to work it is important that a function is passed as a second argument to the render µhtml function. Please, keep in mind the the render in the connected callback is the µhtml render helper, while this.render is the custom element method that holds the function that is passed as the second argument to the µhtml render helper itself. They have the same name, but are two different things. You can use another name for the custom element method. I used render because it was the one that React class components use. You can also avoid the method altogether and inline the callback in this way:
    connectedCallback() {
      render(this, () => html`<main></main>`)
    }
But I found this syntax a little bit too messy. In either ways it is important for the function
() => html`<main></main>`)
to be an arrow function, so that inside it this always refers to the custom element.
To enable the syntax highlight in the html template literal you can use an IDE plugin, as explained in the µhtml FAQ “can HTML content be highlighted like in JSX ?”.
<main class="container">
If you are wondering why the main element has the container class, this is just the way Pico works.
 <form
  onsubmit=${(ev) => {
    ev.preventDefault()

    notes.value = notes.value.concat({
      title: ev.target[0].value,
      text: ev.target[1].value,
    })
    ev.target[0].value = ''
    ev.target[1].value = ''
  }}
>
Here you can see that µhtml allows us to attach native listeners to elements. So, even if using µhtml is very similar to use JSX, please note that we are dealing with real DOM events here, not React synthetic events. Also, we are generating the DOM using a template literal, so we don’t need the compilation step that is needed when you use JSX. Finally, µhtml doesn’t use any virtual DOM. Signals allow for fine grained DOM updates, and you don’t need the overhead of the virtual DOM to optimize DOM updates.
<textarea />
Here you can see that µhtml allows us to use self closing tags.
<div>
  ${notes.value.map(note => html`
    <article>
      <header>
        <h1>${note.title}</h1>
      </header>
      <main>${note.text}</main>
    </article>`)}
</div>
Here you can see how µhtml generates list of elements from an array of data, it is pretty much the same as what JSX does, except that, as long as you don’t change the elements order, you don’t need keys. We’ll see how and when use keys later on in this tutorial.
The result, so far, is this:
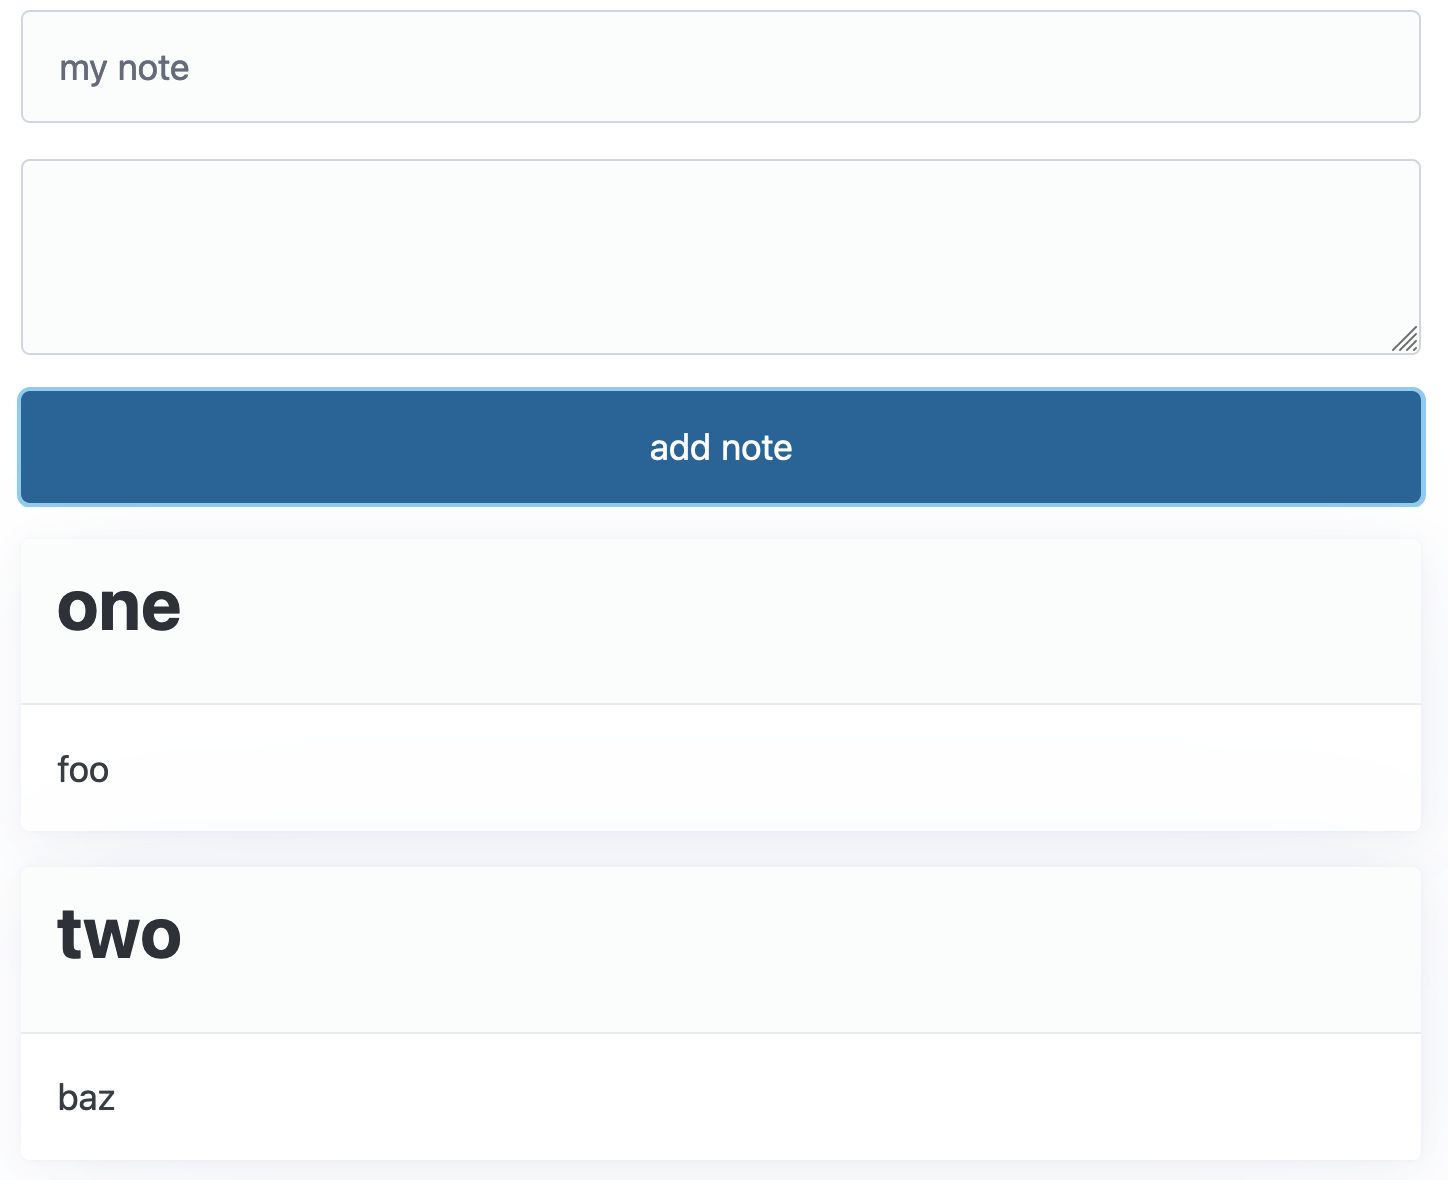
So, this is the end of the part one, I hope you’ve enjoyed it, if you have any questions, please, feel free to ask them in the comments.
You can find all the code of this part in this repo.
Thanks for reading and see you in part 2, where we will see how to delete, edit and save notes.